 knacksnews
How to Convert MPEG to WAV: A Step-By-Step Guide
Knowledge of the conversion process makes it easy to change MPEG files into WAV format although beginners might find it difficult at first. MPEG files function as video solutions while WAV files function as the highest quality standards in audio formats. The instructions in this guide will assist you regardless of your reason for needing WAV file conversion. Following the tutorial steps allows users to convert MPEG files into WAV format without delay or complicated procedures.
Understanding MPEG and WAV Formats
Before we dive into the conversion process, it’s important to understand what MPEG and WAV formats are. Both of these formats are audio file types that can be used for different purposes.
The Moving Picture Experts Group system (MPEG) operates as an online streaming and device storage video format through video compression technology. The video compression method exists mainly for video applications because it produces small files that preserve high image clarity.
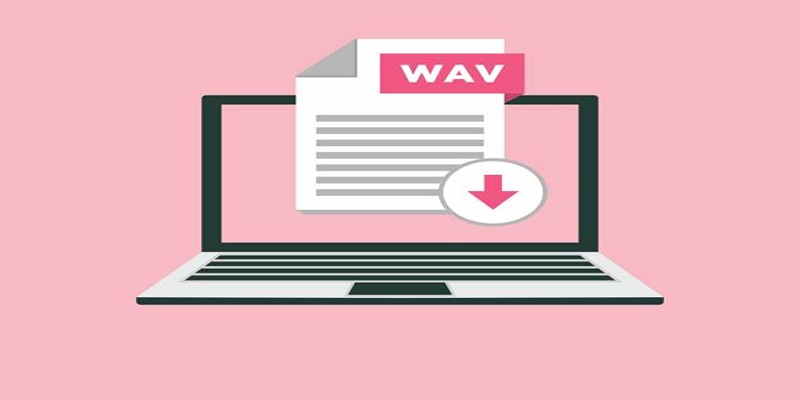
The WAV (Waveform Audio File Format) stands as an uncompressed audio file format that gives users high-quality sound output. Professionals select WAV because of its suitability for music creation and editing together with its effective use in specialized audio work.
Step 1: Choosing the Right Software
The initiation of MPEG to WAV file conversion begins with selecting appropriate software for the process. You can find numerous file conversion tools for your task which include both cost-free and paid solutions. Among popular options for the conversion task are VLC Media Player and Audacity and Freemake Video Converter.
Make sure to research and compare different software options before making a decision. Consider factors such as ease of use, compatibility with your operating system, and additional features that may be useful for your specific needs.
Step 2: Downloading and Installing the Software
Once you have chosen your desired software, download it from its official website and follow the installation instructions. Be sure to download the correct version for your operating system to ensure compatibility.
After installing the software, open it and familiarize yourself with its interface. This will make it easier for you to navigate through the conversion process later on.
Step 3: Importing Your MPEG File
Import the MPEG file into the software you’ve chosen. Typically, this can be done by clicking on a menu option such as “File” or “Import.” Look for an option that allows you to browse for files on your computer, then locate the MPEG file you want to convert. Select the file, and it should appear in the software’s workspace or file queue.
Some software may support drag-and-drop functionality, allowing you to directly drag your MPEG file into the conversion window. Once your file is successfully loaded into the program, you’re ready to move on to the next step. Make sure to double-check that you’ve selected the correct file before proceeding.
Step 4: Choosing the WAV Format
Next, you need to specify the output format as WAV. Depending on the software you’re using, this may be done through a dropdown menu or by selecting an option such as “Convert to” or “Output format.”
In some cases, there may be additional settings that allow you to customize the output format. Take the time to explore these options and adjust them according to your preferences.
Step 5: Selecting Conversion Settings
Before starting the conversion process, it’s important to choose the right settings for your needs. This includes selecting the desired audio quality and choosing whether you want to convert multiple files at once or just one file at a time.
If you’re converting multiple files, make sure to select a suitable output location for the converted WAV files. This will ensure that they are easily accessible and organized after the conversion process is complete.
Step 6: Starting the Conversion
After finalizing your settings, you can begin the conversion process. The duration will vary based on your file size and your computer’s processing speed, but it may take a few minutes to complete.
While waiting for the conversion to finish, avoid using other programs or applications on your computer as this may slow down the process and cause errors. Once the conversion is complete, you should see a notification indicating so.
Step 7: Saving Your WAV File
Finally, it’s time to save your newly converted WAV file. Most software will prompt you to choose a location and name for the file before saving it. Make sure to select a location that is easy to find and remember.
Once saved, you can now access and use your WAV file for any purposes you desire. You can also repeat this process with other MPEG files as needed.
Tips for a Successful Conversion

- Make sure to have enough storage space on your computer before starting the conversion process as WAV files tend to be larger than MPEG files.
- Close any unnecessary programs or applications while converting to avoid slowing down the process.
- Always double-check that you have selected the correct file and settings before starting the conversion.
- If possible, choose a software with batch conversion capabilities to save time when converting multiple files.
- Consider backing up your original MPEG files in case of any errors during the conversion process.
By following this step-by-step guide, you can easily convert your MPEG files into WAV format without any hassle.
Final Thoughts
Converting MPEG files to WAV format can seem daunting at first, but with the proper tools and a clear process, it becomes a straightforward task. Ensuring you follow best practices, such as backing up files and preparing your system for the conversion, can help prevent issues and ensure a smooth experience. With this guide, you are now equipped to handle the conversion process with confidence, enabling you to enjoy high-quality audio files tailored to your needs.
On this page
Understanding MPEG and WAV Formats Step 1: Choosing the Right Software Step 2: Downloading and Installing the Software Step 3: Importing Your MPEG File Step 4: Choosing the WAV Format Step 5: Selecting Conversion Settings Step 6: Starting the Conversion Step 7: Saving Your WAV File Tips for a Successful Conversion Final ThoughtsRelated Articles

How to Fix Slack Lag and Speed Up Notifications Effectively

10 Must-Have Tools for Effective User Acceptance Testing

Top MPG to MP4 Converters for Effortless Video Conversion
5 Simple Ways to Convert 3GP to MP4 Effortlessly

Top 12 Jira Plugins and Add-Ons Every Developer Should Try

Which Are The Top AI Art Generators to Unleash Your Creativity in 2025

What is a Cache? Understanding Its Role and Benefits of Clearing It

Convert DOCX to TXT Files in Batches Online with No Downloads

Best Screen Sharing Software for Remote Teams in 2025: A Comprehensive Guide
Troubleshooting Cloud Storage Sync Errors: A Step-by-Step Guide

The Best Slack Apps for Your Workspace in 2025: An Ultimate Guide
