 knacksnews
How to Move the Dock on Your Mac to a Second Monitor: A Step-by-Step Guide
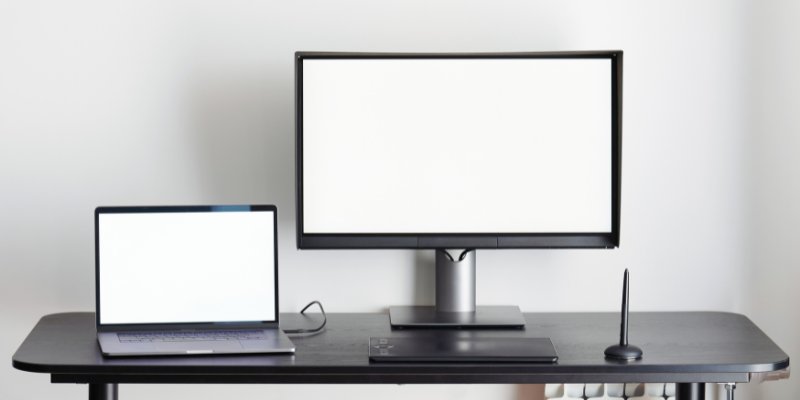
The Dock on a Mac contains easily available apps, data, and system utilities. However, when using several monitors, you could relocate the Dock to another screen for improved workflow. Though some may find it difficult, macOS lets users adjust the Dock's location between displays. Correct movement of the Dock will increase output and simplify multitasking.
There are easy ways to change the Dock's placement, whether your preferred method is the mouse trick or system configuration adjustment. Some users, in the meantime, run into problems with the Dock shifting back or not showing on the proper display. This guide describes the fastest approaches to relocating the Dock, modifying the main display, and debugging issues.

Is It Possible to Display the Dock on All Screens?
The default behavior of the Dock does not show on all screens simultaneously. However, MacOS allows it to travel between monitors depending on cursor motion. The Dock will go to that display when the cursor is lowered to the bottom of a screen and maintained there for a second. Go to "System Settings," then "Displays," and see whether "Displays have separate Spaces" is activated under "Mission Control," so enabling the Dock on many screens more efficiently.
This configuration lets every monitor operate independently, facilitating Dock access from many screens. Setting a main display using "Display Arrangement" will assist users who want the Dock to stay on one screen without switching. Sadly, macOS does not provide a way to keep the Dock always visible on all of the monitors at once.
How to Move the Dock Using the Mouse
Using your mouse will help you move the Dock faster. Use these easy procedures:
- Starting at the bottom of the second display, move your cursor there momentarily. The Dock moves slowly; hence, learn to hold the posture patiently.
- Wait until the Dock moves to the second screen, one second or two. If it does not show immediately away, try moving the cursor up and down once more.
- If the Dock still does not move, repeat the process several times. MacOS sometimes pauses to recognize the change, particularly if several screens are linked.
- Although this is the easiest approach to relocate the Dock, if it does not work, you might have to change the display settings manually.
How to Move the Dock Using System Settings
Try adjusting system options if the Dock does not move using the mouse approach:
- Click on the Apple menu at the top-left corner of your screen. A drop-down menu will appear, including many choices.
- Choose "System Settings" if you run the most recent macOS variant. Click "System Preferences" instead if you are using an older edition. It will launch the window for system settings.
- Scroll down the left sidebar and click "Displays." This part lets you control and set your linked screens.
- Look for the "Arrangement" tab, which visually displays your monitors. Boxes will replace every display.
- Find the white bar at one of the displays' top. This white bar shows which screen is presently the main display.
- Click and drag the white bar to the second monitor where you wish the Dock to show. It will make your chosen monitor your main display.
How to Set a New Main Display?
The main display is the main screen, where the dock and menu bar are displayed by default. Use these directions to modify it:
- Select the Apple menu in the top-left corner of the screen and choose "System Settings." If you are using an older macOS version, select "System Preferences."
- Visit "Displays" on the left sidebar. Click the "Arrangement" tab to get a graphic arrangement of every linked display.
- Search among the displays for the white bar at their top. This bar indicates the present main display. Click and drag the white bar to move it to another display.
- Once relocated, the new display will take the front stage, and Dock and the menu bar will migrate to it. To preserve the adjustments, close the settings window.
- If the Dock does not relocate right away, try rebooting the Mac. This approach applies to built-in and external monitors. Establishing the main display enables one to tailor the workspace for maximum efficiency.
Fixing Dock Movement Problems
Sometimes, the Dock moves differently than expected, which irritates. Below are common problems and sensible solutions for them.
- The Dock Does Not Move to the Second Monitor: If the Dock isn't showing on the second screen, review the display layout in "System Settings." Verify MacOS's recognition and connection to the second monitor. If the issue continues, restart your Mac and experiment with moving the Dock once again with the mouse or system settings.
- The Dock Appears on the Wrong Monitor: Change the display settings if the Dock comes up on the wrong screen. Open "Displays" under "System Settings," then visit the "Arrangement" page. To designate the main display, drag the white bar to the intended monitor. Holding the cursor at the bottom of the appropriate screen will help you to employ the mouse trick, if necessary.
- The Dock Keeps Switching Back: If the Dock reverts on its own, the "Displays have separate Spaces" configuration may be the cause. Visit System Settings, open "Mission Control," and turn off this option. Reconnect your displays and restart your Mac to see the changes.
Conclusion:
Moving the dock to a second monitor will help simplify multitasking and increase efficiency. The mouse technique allows for rapid movement; alternatively, you can change system settings for a permanent effect. Establishing a main display helps to keep the dock in position and stops undesired switching. Checking display settings or restarting the Mac will help to solve typical problems if the Dock does not move as it should. Though macOS does not let the Dock on all screens at once, cursor-triggered movement makes access simple. Following these guidelines will help you to guarantee a better multi-monitor experience on your Mac and personalize your configuration.
Related Articles

Solving Grammarly Issues in Google Docs: Quick and Simple Fixes

Using Writer for Enterprise Generative AI Solutions

Dark Web Monitoring Tools: Common Failures and Smarter Solutions

Top MPG to MP4 Converters for Effortless Video Conversion

Choosing the Right App Builder for Your Needs

The Best Slack Apps for Your Workspace in 2025: An Ultimate Guide

Which Are The Best Ways to Automate OneDrive for Effortless File Management

Which Are The Top AI Art Generators to Unleash Your Creativity in 2025

How to Add Leads to LeadConnector from a Webhook: A Step-by-Step Guide
How to Fix Trello Boards That Load Slowly or Lag Frequently

Which Are The 8 Best Database-Powered App Builders for Seamless Development
